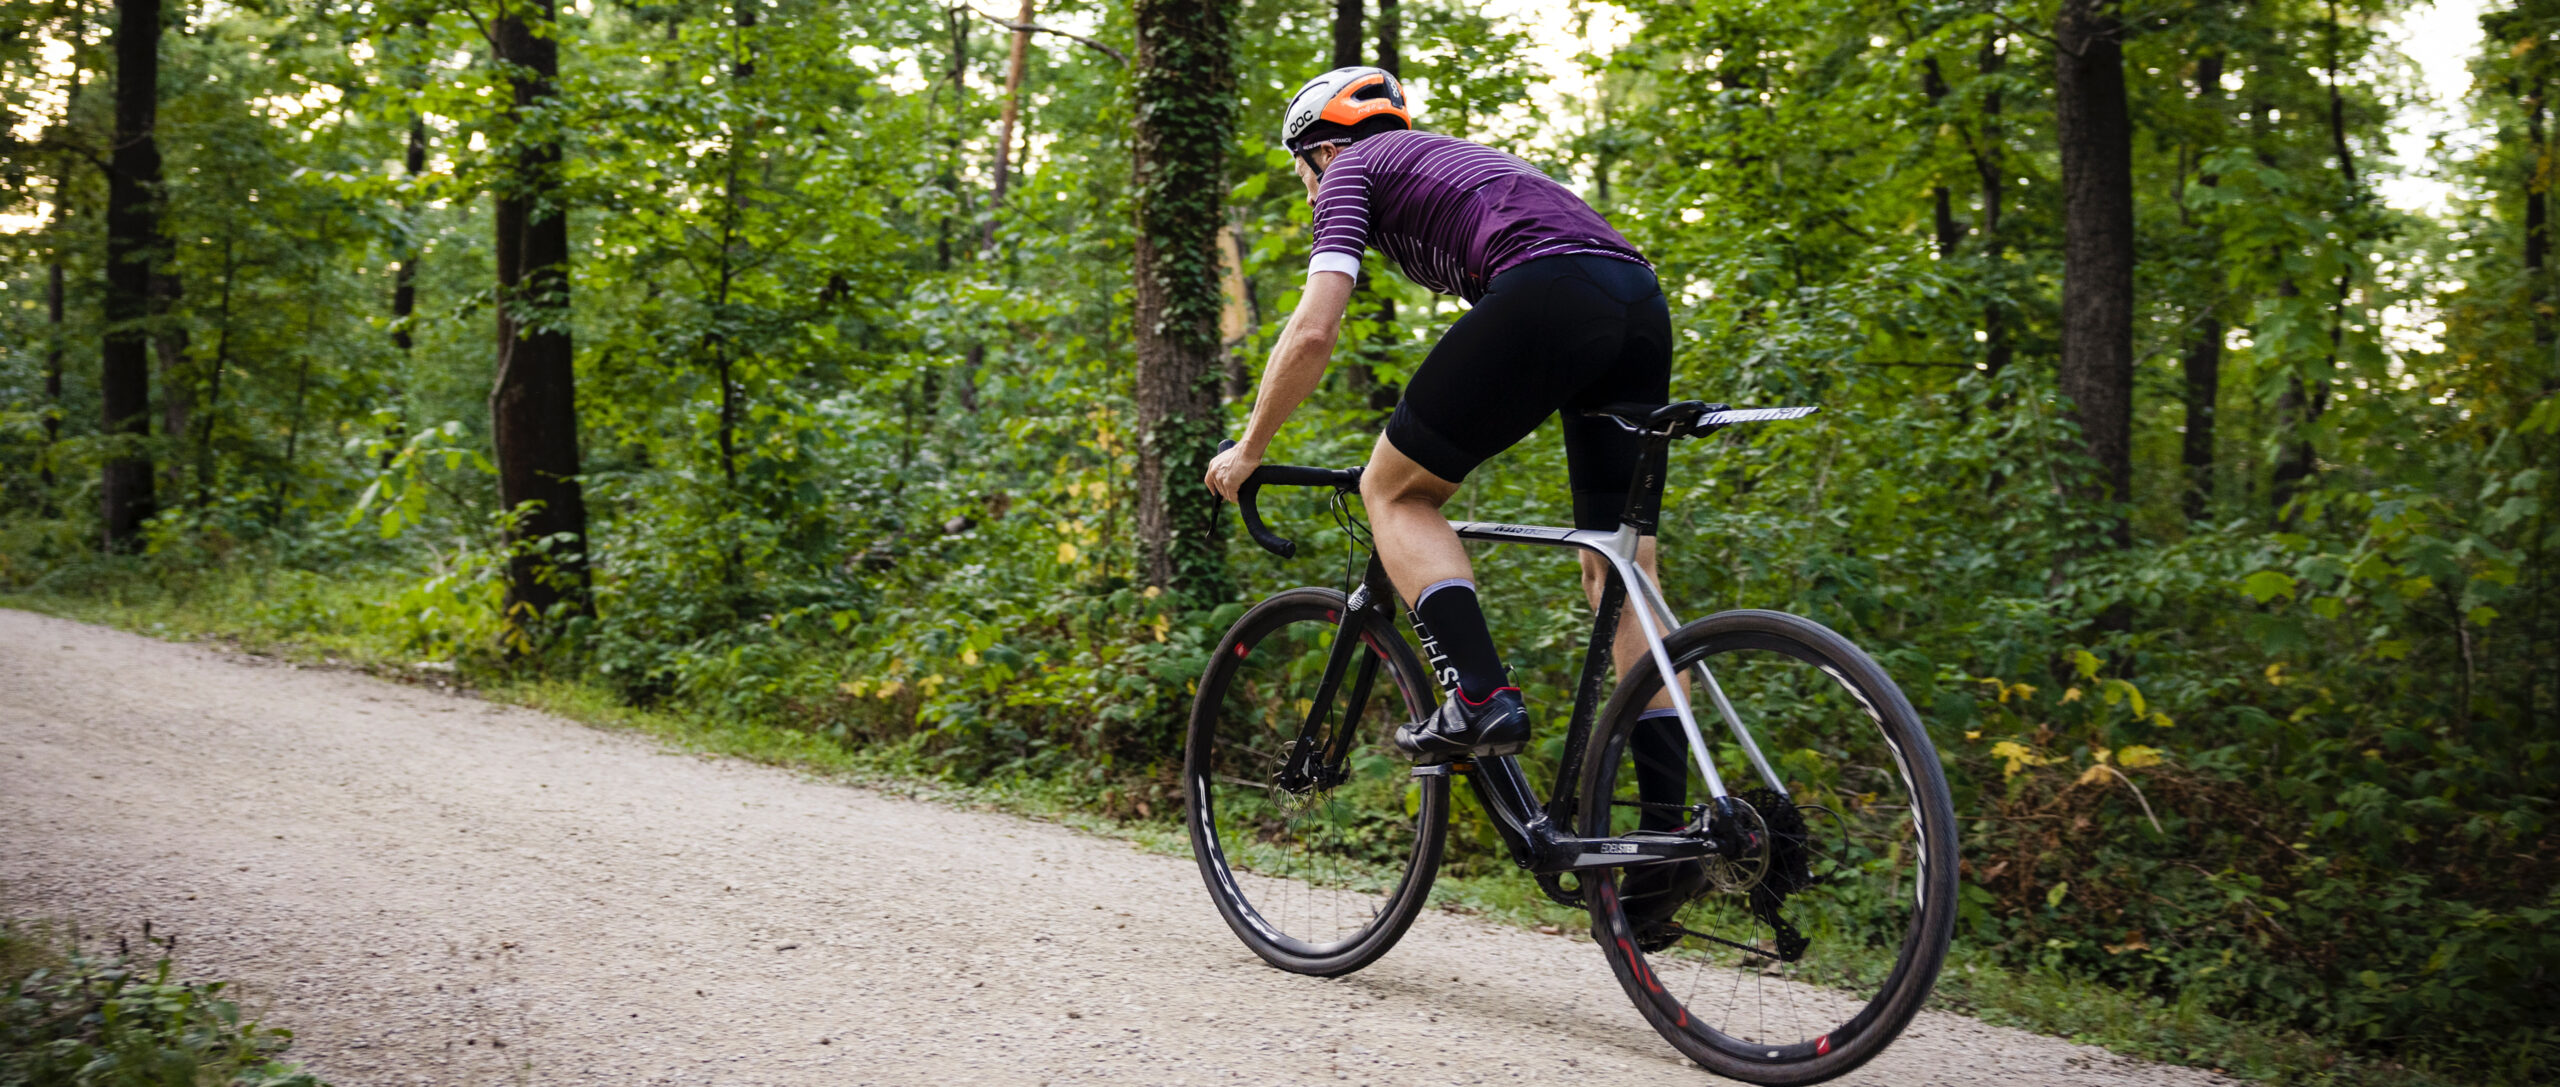
I never learned to ride a bike as a kid. And to be honest, I was a little scared when I decided to learn it as an adult. But thankfully, it was easier than I thought it would be. In this article, I’ll walk you through the basic steps to get you started with riding a bike.
If I can learn it, so can you.
Getting ready to ride a bike: Make sure you have the proper gear before you start learning.
You need a bike and a safe, open area to practice. Follow the steps below to quickly learn how to ride a bike.
Get your bike ready
Learning to ride a bike obviously starts with getting a bike ready. And once you have one, the first step will be to make sure the bike actually fits you. This may require that you adjust the height and position of the saddle for a more comfortable ride.
- When learning to ride a bike, it’s important to lower the seat so that you can have both feet flat on the ground when you straddle the bike. A low seat enables you to catch yourself in mid-fall with your feet, this will remove the fear of a bad fall.
- There should be about 1-2 inches between your crotch and the top frame when you stand over the bike. Also make sure the handlebars and brake levers are easy to reach. Having trouble deciding which bike size will fit you the best? See our detailed explanation of bike size charts.
Safety first
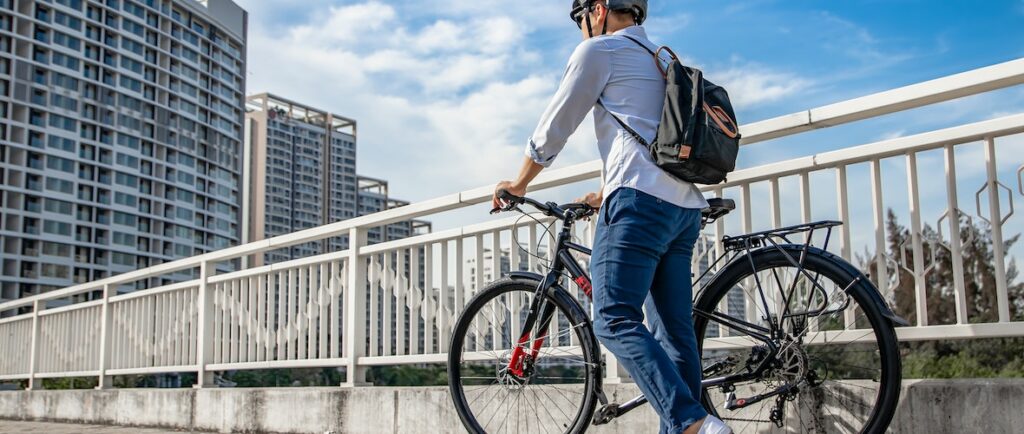
Learning to ride a bike is cool, and so is your safety. That’s why you have to think of the right location, the right clothes and good fit helmet.
Find a flat, smooth stretch of open space that is peaceful and free from roads and traffic. The best locations are a park or a school on the weekend.
- Get dressed for biking: wear comfortable clothes like shorts and tight pants that won’t get in your way. You may also use elbow and knee pads to protect you from injuries in case you fall.
- Wear a helmet: it’s good practice to wear a good-fitting helmet. The helmet should fit comfortably without being overly tight. The front edge should be at least an inch above your eyebrows so that your forehead is protected, and it should sit straight on your head. Learn more biking tips for new cyclists.
Learn to mount the bike
Next is to try getting on and off your bike. This should be simple and effortless, although you might need some practice to make the motion smooth. Stand on one side of the bicycle, hold the handlebars and squeeze the brakes.
Lean the bike towards you and move your leg over the seat to the other side of the bike. Get off the bike and mount it again. Repeat this a few times to get more comfortable doing it.
Walk the bike, test the brakes
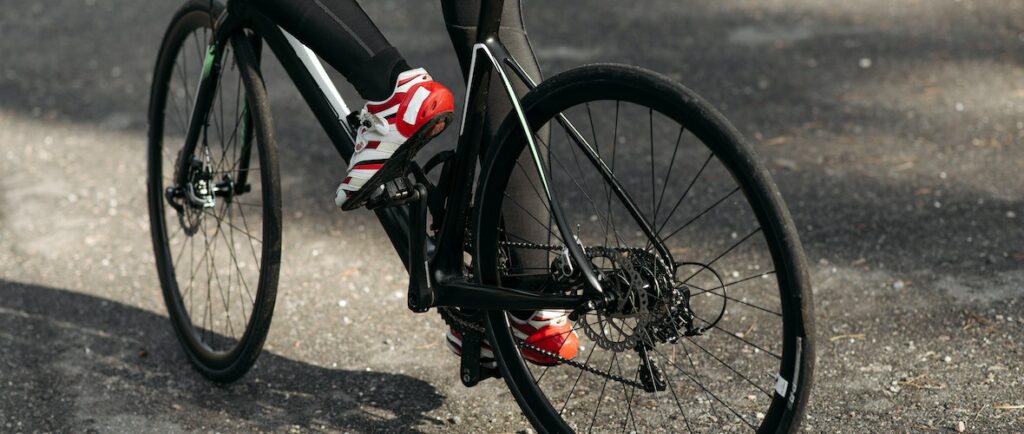
Now you need to understand how the brakes work and learn how to apply them. Stand next to your bike while holding the handlebars, start walking with the bike rolling along beside you. Walk some distance (about 10 to 20 feet), and squeeze the brakes.
Bicycles have two brakes, the front brake and the rear brake, make sure you squeeze both brakes at the same time, this helps you to stop the bike in a smooth and controlled way. You can practice squeezing each brake individually to see how the bike reacts.
Not all bikes have handlebar brakes, in this case, you will find that the braking system is activated by pedaling backwards. This is known as coaster brakes or backpedal brakes.
When testing and learning how the brakes work, keep in mind that the goal is to learn how to bring the bike to a controlled stop without getting a jerking motion. This is because you don’t want to stop a bike abruptly when riding, as this came lunch you forward towards the handlebars.
Practice gliding without pedals
Okay, we’re getting to the fun part. It’s time to get on the bike and move with it. The goal here is to learn to keep your balance while on the bike and hone your vision.
You may need to remove the pedals to prevent them from getting in your way. This is where you may need the help of your instructor (if you have one). But don’t worry, you can figure out how to remove and replace bike pedals with the video below.
Sit on the saddle of the bike with both feet on the ground. Move the bike forward by taking small steps, gradually increase your speed until you are almost running, and the bike is rolling smoothly. Then raise your legs and let the bike continue to glide without your feet touching the ground.
Make sure you keep your eyes forward, as this will help you control where the bike is headed. Resist the temptation to look down and keep your body upright.
If you can glide for at least 3 seconds without putting your feet down to regain your balance, then you can proceed to the next step. Else, you will need to practice some more. Don’t worry if you find this step difficult, you will get it right with a some practice.
Learn to pedal
Once you have mastered braking and gliding, then you’re ready to start pedaling. Learning to pedal can be tricky, and it’s actually one of the hardest part of learning to ride a bike. And once you get this step, you can ride a bike.
So let’s get to it.
Mount your bike, sit on the saddle, and put the pedals in the 2 o’clock position (add an image of bike pedals in the 2 o’clock position). Place one foot on the higher pedal while the other foot remains on the ground.
Start with a strong downward stroke with the foot already on the pedal, then place your other foot on the other pedal. At the point, you will be tempted to look at your feet, but keep your gaze forward. Don’t worry about missing the second pedal, your foot will find it.
Keep in mind that when riding a bike your eyes should be looking forward at all times, your bike goes where your eyes go. Also, don’t look at obstacles because your bike will move towards them when you do. Focus on looking at where you want to go. This will take some practice but will eventually become natural.
Try to get your foot on the second pedal as soon as you can, this will help you complete the first full rotation with your pedals to start riding. As long as your feet are on the pedals and your eyes are on the road, you can pedal away and ride your bike.
Try to pedal for 10 to 15 seconds without your feet touching the ground. But if you start to lose your balance, squeeze the brakes and put your feet down to come to a stop.
Riding a bike for the first time will require some practice, so don’t be discouraged if you don’t get it right away. Give yourself some time to find your rhythm. You may need to take a break and come back refreshed to try again.
Practice safe braking
As you get better at riding, practice stopping the bike by applying the brakes. It’s common for new riders to squeeze only the front brake, but this is the wrong way to apply your brakes because it could lurch you towards the handlebars, especially if you’re moving with much speed.
The front and rear brakes work in harmony, so always apply both brakes at once. It’s much easier to simultaneously squeeze both brakes if you have your fingers resting on the brake levers during your ride.
You should also make sure there are no obstacles in your path before you begin to gradually squeeze the brakes.
Learn to steer and change direction
Once the hang of riding, and you can ride for longer periods of time, then you can start to practice steering your ride to avoid obstacles in your path. Place cones in your path and practice around them until you master it. Experiment with larger curves initially, and then work on tighter bends.
Turning a corner: making clean turns on your bike require that you use both the handlebars and your body. You will need to gently turn the bike to the direction you want to go while also slightly adjusting your body to make it seem more natural. Remember to look in the direction you want to go.
Try not to pedal all the way through the turn as you learn to avoid going too fast and losing control. When approaching a corner, ease off the pedal and glide until the turn in completed, then continue pedaling.
Key Takeaways
- Practice on a level, smooth surface. Use a helmet, knee and elbow pads to protect yourself in the event of a fall.
- Practice gliding without losing your balance, and once you gain some confidence, then you can start pedaling. Ride straight ahead for as long as you can.
- Apply the hand brakes to stop. Practice steering and making turns with your bike.
Finally, it takes time to learn to ride a bike. Some riders need more than one lesson to learn. It’s okay if you need to take a break and come back to the bike later. Cycling is physically demanding, so do it slowly to avoid becoming exhausted.
Remember that bike riding is a skill that anyone can learn with some practice and the right amount of confidence. Carefully follow this guide to get off to the right start and build up to an enjoyable ride.